

Once you’ve set up your Member SSO authentication, the next step is rolling it out for your organization. This short guide outlines tips and best practices for making the transition as smooth as possible.
In this article:
Prepare your license for Member SSO
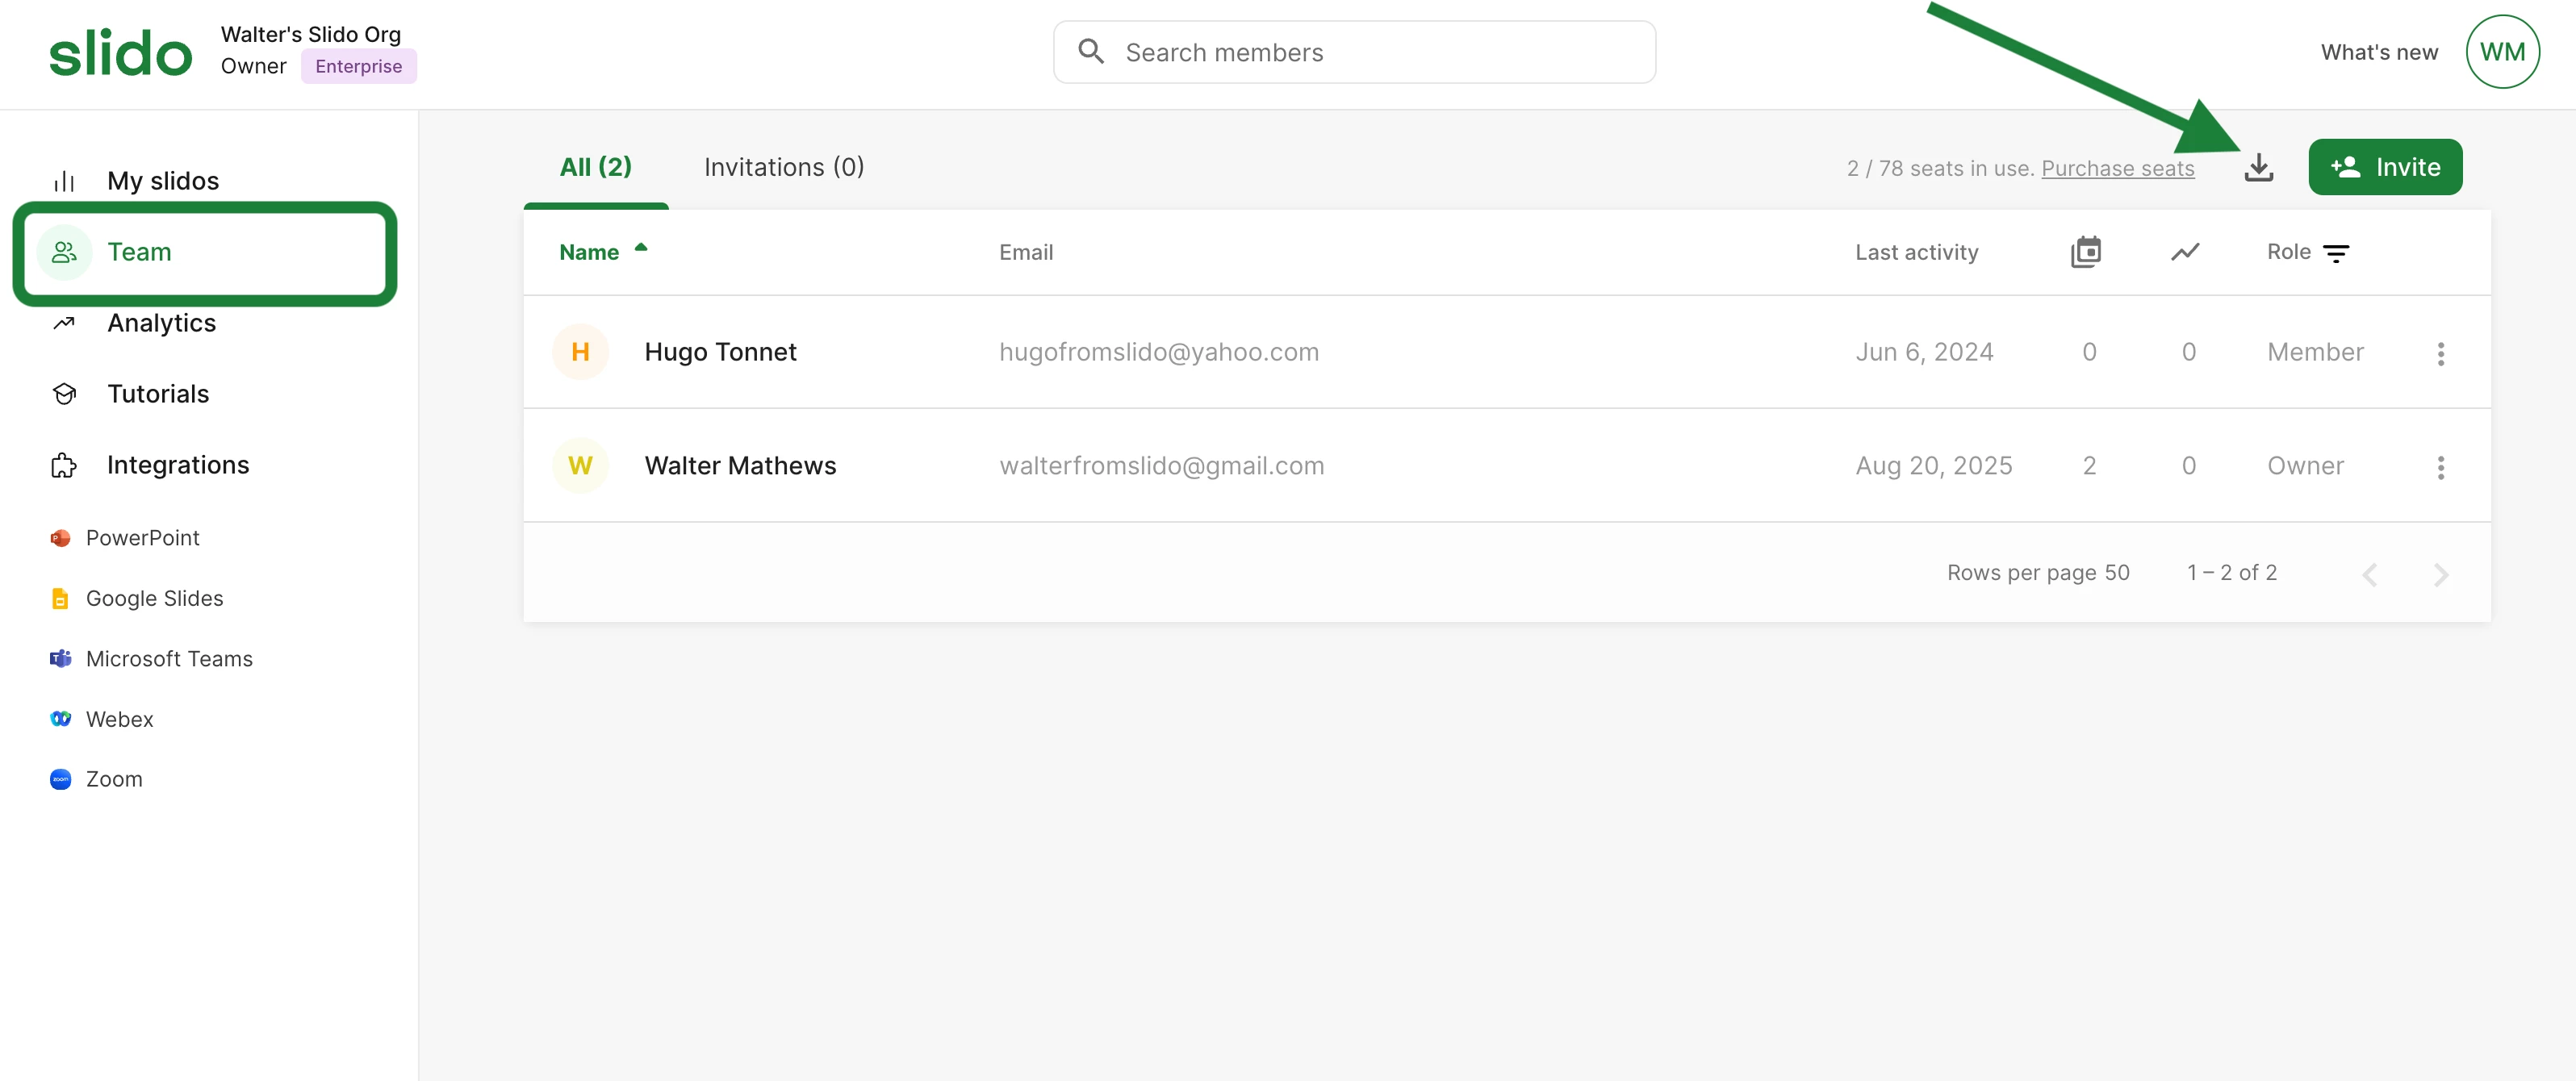
Review the list of members within your Team tab to make sure all member email addresses have access to your SSO. To make things easier, you can download the list by clicking the download icon in the upper right corner.
Do you use shared or functional inboxes for Slido accounts?
If you have members using shared inboxes for Slido (e.g. info@corporation.com), you’ll want to make sure those are added to your IdP. If you don’t do that, you’ll need to deactivate them before enforcing Member SSO.
To do this, you will first need to invite all users having access to the shared account to create their own slido account using their personal corporate email address (e.g. john.smith@abccorporation.com). Once their accounts are created, you can transfer slidos from the shared account to any of the personal ones.
Pro tip: Invite personal accounts to a shared Slido Space for easy access and collaboration
Introduce SSO in stages
If your goal is to enforce Member SSO for your Slido organization, it’s best to do so in phases. Start off by enabling SSO and give your members time to get used to it. Then after some time, you can enforce it.
Communicating these changes before they take place provides the best experience and the smoothest transition for everyone. To help you with this, download our templates below for introducing Slido SSO to your team(s).
Be mindful about external guests
Deciding whether or not to exclude guests from SSO will impact your members – especially ones that are inviting external guests regularly. Choosing not to exclude guests means every guest will have to sign in using SSO. But ticking the exclude guests option allows any external collaborators to create a simple password account.
No matter what you decide, we recommend communicating that to your teams so that they can prepare accordingly.
Curious about more?